

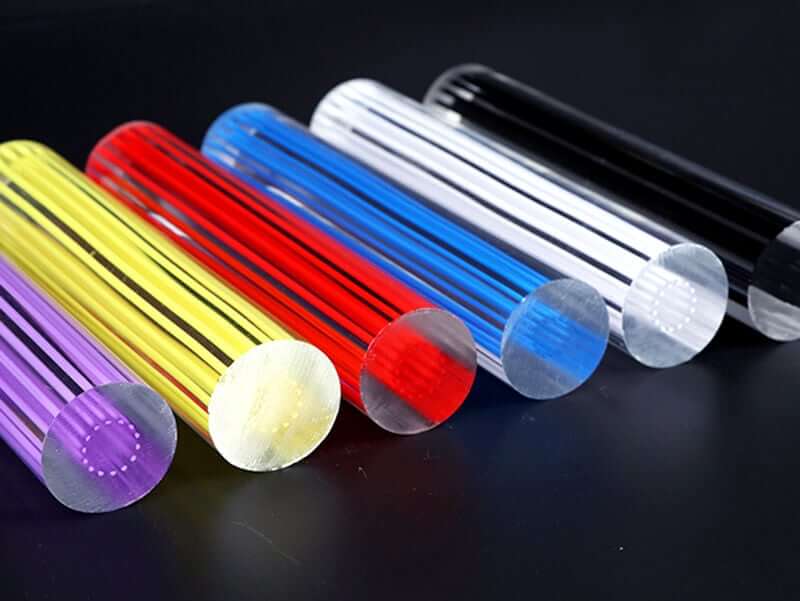
If you have done your research and are properly prepared for the job ahead of time, installing an acrylic shower enclosure can be a relatively simple task. In the course of the preparations, tube plexiglass is critical to ensure that the holes for the shower valve and any shower connections (such as a shower rail, for example) have the proper dimensions. Because they are the very first steps in the process, they are extremely important. Making certain that the underside of the panel does not come into contact with the floor surface is critical. In order for the panel not to slide off the floor, the bottom of the panel must have a 4 millimeter gap at the bottom, which corresponds to the location of the joint. Before you can begin installing the hot and cold water pipes, you must first determine the length and diameter of the pipes that will be running through the wall studs. Mark the locations of the two pipe sections on the acrylic sheet with a fine-point marker to indicate where they should be positioned on the sheet once it has been cut out. Wide tape should be used to cover the areas where you will be drilling in order to prevent accidental drilling. It's an excellent tip for anyone who is just getting started in the drilling industry. It is possible to accurately position the drill while also preventing it from moving if you employ this technique. Please make a note of any additional holes that will be necessary for the installation of any additional accessories, such as the screws that will be used to attach the shower bar and any other accessories that will be included. Never forget to keep the following rule in mind at all times, no matter what situation you find yourself in:Prior to beginning to drill the acrylic, double-check that everything is in proper working order and that nothing has been damaged.
Place the acrylic sheet on a surface that will allow the drill to sink into it, such as a wooden board, before starting the drill to begin drilling the holes in the sheet. This will allow the drill to sink into the sheet. To get started, drill all of the holes with a high-speed steel drill with a 5 millimeter diameter to get the ball rolling.(This is an optional field.)For the most part, standard screws are adequate for holding these fittings in place; in fact, the diameter of the drill hole is frequently sufficient for this purpose. When it comes to installing the shower faucet, however, the situation is completely different. Using a hole saw to drill the holes is actually necessary in this particular instance, as it is necessary to achieve the desired results with a drill press. As a result of this, the holes you drill will be of a sufficient size when you are finished drilling them, which is extremely important.
The saw must first be used by drilling a hole into the material to be cut and then inserting the saw's center bit into the hole that was previously drilled before cutting can begin. Allowing the drill to spin slowly while cutting through the material is critical to ensuring that the saw cuts through the material with care and precision. Using an excessively rapid cutting speed, the material may melt, and using an excessively slow cutting speed, the material may become adhered to the cutting blade, resulting in a melted material.
In the second step, it is necessary to put the acrylic wall panels through their paces to ensure that they are of high quality.
It is necessary to put the wall panels through their paces in order to evaluate their overall effectiveness in the second step of the process. In order to complete this task completely and correctly, it is necessary to remove the faucet as well as any other fixtures that are attached to the wall. Before beginning any project, make sure that the water is turned off.
A simple method of making life easier for yourself is to place a suction cup on a panel and hang it above the faucet to make it more convenient to use. Ensure that there is a gap of 4 millimeters between the panels and the joinery when you are placing them on wedges at the bottom of the structure. Additionally, it will aid in ensuring that they are properly maintained and protected against damage.
Verify that all of the holes are in their proper positions before proceeding to the next step. A small deviation from the center of the shower drill hole is not significant; the location of the shower drill hole is not important. By lightly tapping on the hole in the wall where the problem is located, you will be able to resolve the situation, and the problem will be eliminated. Therefore, many shower faucets are equipped with aesthetically pleasing covers that conceal the hole through which the water is supplied. The computer's display screen can be used to make any changes to the panel that are necessary at this point. Removing it from the oven and making any minor adjustments that may have occurred during the baking process is then the next step.
Removal of the existing wall is completed in three stages. The third stage is the preparation of the existing wall.
To attach the new acrylic wall panel in your bathroom to the existing wall, which will be painted to match the color of the new panel, it will be tube plexiglass to use glue. The final thorough cleaning of the old wall is required before moving on to Step 2, with special attention paid to ensuring that the new wall adheres well to the old wall before moving on to Step 3. To ensure that all of the scale is completely removed from the surface, use a high-quality limescale remover. A bathroom cleaner that is appropriate for the situation should be used to clean the wall after that. Finally, using a good degreaser, thoroughly clean the surface to ensure that the glue adheres to it well after application. If you want to avoid burning your hands while cleaning, make sure there is adequate ventilation and wear rubber gloves while you work.
4. Using a paintbrush, apply glue to the edges of the panels to ensure that they are permanently attached.
To adhere the acrylic panel to the wall, a variety of different types of plaster can be used, with the type of plaster used varying depending on the application. If you have the option, and the funds available, we strongly recommend that you use the Bostik Hightack mounting compound for your project. No matter which product is used, it must meet two requirements: it must maintain its flexibility while also being light in color, as is the case with Hightack coating, and it must be simple to clean. You should keep in mind that when using a dark-colored product, there is a chance that dark spots will appear through the acrylic. It is preferable to use a product that is lightweight. If you bring a sample acrylic sheet to the hardware store with you, you will be able to make a more informed decision about whether or not to proceed with the project. The effectiveness of the coating, as well as the absence of show through, will be determined and documented as a result of this procedure.
Acrylic sheets should be applied one at a time, and each wall should be allowed to dry completely before moving on to the next. Maintain your focus on the fact that, if you start as early as possible, you will most likely be able to finish building the second wall the following day. Instead, depending on your personal preference, you can decide whether you want the product to be applied to the wall or to a sheet of acrylic. Begin at the ceiling and work your way down, starting with vertical lines of glue 5 centimeters from the ceiling and 5 centimeters from the floor. Begin at the top of the stairs and work your way down. Water can collect behind a panel if water passes through it and then collects behind the panel after it has been installed, so it is not recommended to use horizontal lines when installing panels. You should use your product to seal each and every one of the water connections and tap caps after the work is completed if all of the connections and tap caps have been installed. On each occasion, draw a circle that is both neat and tightly constrained in terms of both size and shape, as well as the number of times you want to do it.